

By The Hazli Family — Peter & Louise · Reviewed June 2026
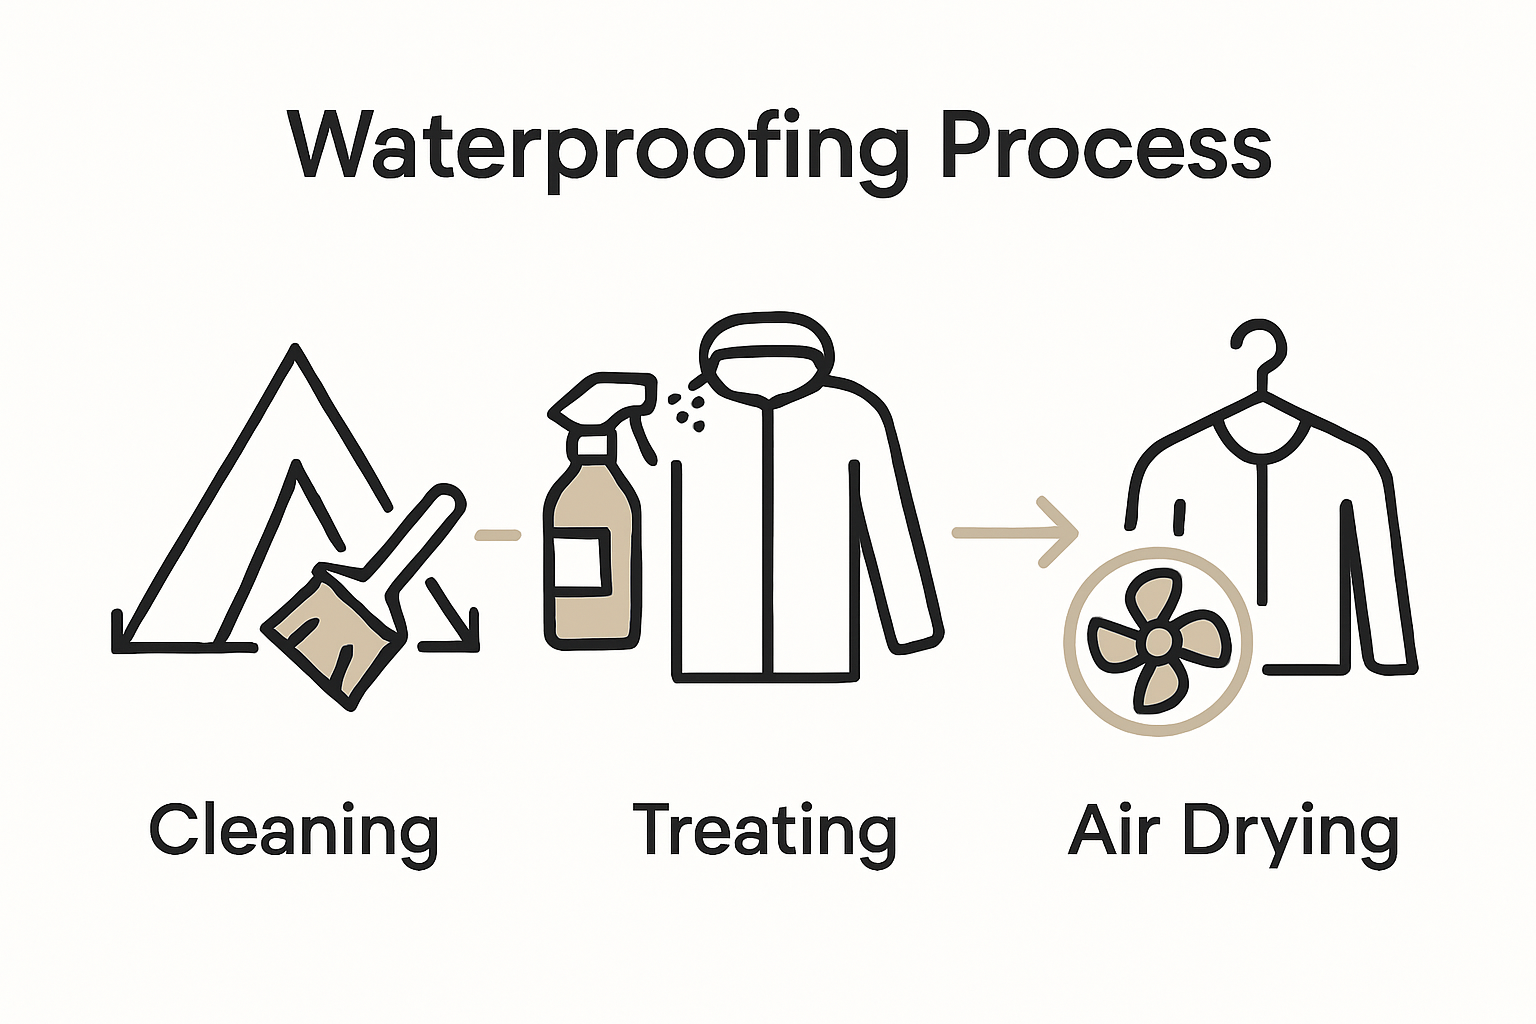
Quick answer: Waterproof camping gear in five steps: gather specialized treatments like Nikwax plus a brush, cloths, and gloves; clean each item with no-residue detergent; apply spray or wash-in treatment evenly without oversaturating; air-dry away from direct sunlight so the coating cures; then hose-test seams and zippers before your trip.
Rain can ruin even the most carefully planned american camping adventure. Every year, wet gear leads to frustrated campers and ruined trips, yet many forget that one overlooked step can cut gear lifespan in half. Protecting your equipment from moisture not only prevents costly replacements but also helps you enjoy the outdoors with confidence. This guide offers clear steps to waterproof your gear so you stay dry and ready for whatever nature delivers.
Table of Contents
- Step 1: Gather Essential Waterproofing Materials
- Step 2: Clean Camping Gear Thoroughly
- Step 3: Apply Waterproofing Treatments Correctly
- Step 4: Dry and Cure Gear for Lasting Protection
- Step 5: Test Waterproofed Gear Before Your Trip
Quick Summary
| Key Point | Explanation |
|---|---|
| 1. Assemble Waterproofing Materials | Gather specialized waterproofing treatments, brushes, cloths, and gloves before starting the waterproofing process to protect your gear effectively. |
| 2. Thoroughly Clean Your Gear | Remove dirt and grime to ensure the waterproofing treatment works effectively; follow specific cleaning instructions for different gear types. |
| 3. Apply Treatments with Care | Use precise application methods for waterproofing products to create a protective barrier without oversaturation, ensuring fabric breathability. |
| 4. Properly Dry and Cure Gear | Allow waterproofing treatments to cure by drying items in a ventilated area away from sunlight, which prolongs equipment life. |
| 5. Test Gear Before Your Trip | Simulate wet conditions to test waterproofing effectiveness; check for weak points to ensure gear performance in actual outdoor environments. |
Step 1: Gather Essential Waterproofing Materials
Preparing your camping gear for waterproofing requires collecting the right supplies to protect your equipment from moisture and potential damage. Your initial mission involves assembling a comprehensive waterproofing kit that ensures your outdoor gear remains dry and functional in challenging weather conditions.
Start by selecting specialized waterproofing treatments designed for different materials. The Duke of Edinburgh’s Award recommends using Nikwax products with distinct colored caps for specific purposes green cap cleaners prepare gear for treatment while purple cap products provide actual waterproofing protection. Gather these essential items before beginning your waterproofing process:
- Nikwax Tech Wash or similar specialized outdoor gear cleaner
- Waterproofing spray appropriate for your gear material
- Soft bristle brush for application
- Clean microfiber cloths
- Protective gloves
- Well ventilated workspace
Pro tip from experienced outdoor enthusiasts avoid using regular laundry detergents which can leave residues that compromise the fabric’s protective capabilities. Specialized cleaning solutions are formulated to maintain the integrity of waterproof membranes and technical fabrics. By carefully selecting your waterproofing materials you set the stage for protecting your camping gear against unexpected moisture and environmental challenges.
Step 2: Clean Camping Gear Thoroughly
Thoroughly cleaning your camping gear is a critical prerequisite for effective waterproofing, ensuring that dirt, grime, and residual oils do not interfere with the protective treatment. Your goal in this step is to prepare your equipment for optimal waterproofing by removing all surface contaminants that could compromise the final protective layer.

The American Hiking Society recommends a strategic approach to cleaning different types of gear. For tents, set up the equipment and use a diluted solution of no residue detergent with warm water, carefully washing each surface. Use a soft cloth or sponge to gently remove dirt without damaging the fabric. For sleeping bags, follow material specific instructions synthetic bags can typically be washed in a commercial washer with gentle no residue detergent while down bags require more specialized care.
Drying is just as crucial as cleaning. Camp mattress care involves using a fan to dry items quickly and prevent potential UV damage from prolonged sun exposure. Synthetic sleeping bags can be machine dried on low heat, but always check manufacturer instructions. Pro tip ensure your gear is completely dry before storing or applying waterproofing treatments to prevent mold and mildew growth. Your meticulous cleaning sets the foundation for successful waterproofing and prolonged equipment longevity.
Step 3: Apply Waterproofing Treatments Correctly
Applying waterproofing treatments requires precision and careful attention to detail to ensure maximum protection for your camping gear. Your objective is to create a robust protective barrier that shields your equipment from moisture and environmental challenges while maintaining the integrity of the original fabric.
The Duke of Edinburghs Award provides expert guidance on waterproofing techniques which include two primary application methods direct spraying and washing machine treatment. For spray applications start by laying your gear on a flat protected surface and apply the waterproofing treatment evenly using smooth consistent strokes. Work systematically to cover entire surfaces avoiding oversaturation which can compromise fabric breathability. When using washing machine methods ensure you select the appropriate Nikwax product specifically designed for your gear type synthetic sleeping bags tent materials or technical outerwear.
Pro tip always test the waterproofing treatment on a small inconspicuous area first to verify color retention and material compatibility. After application allow your gear to air dry completely in a well ventilated area away from direct sunlight. Comprehensive outdoor mattress care emphasizes the importance of following manufacturer instructions precisely to maintain the longevity and performance of your waterproofed equipment. Your meticulous approach will transform ordinary camping gear into resilient moisture resistant outdoor companions ready for any adventure.
Step 4: Dry and Cure Gear for Lasting Protection
Drying and curing your newly waterproofed camping gear is a critical final step that ensures the protective treatment bonds effectively and your equipment maintains optimal performance. Your goal is to create an environment that allows the waterproofing treatment to set properly while preventing potential damage to the fabric.
The American Hiking Society recommends strategic drying techniques that protect your gear from environmental stress. When drying tents or waterproofed equipment, use a fan to accelerate the process and avoid direct sunlight which can cause UV damage. Position your gear in a well ventilated area with consistent ambient temperature allowing the waterproofing treatment to cure evenly. For sleeping bags pay special attention to drying methods synthetic bags can be machine dried on low heat while down bags require gentler approaches.
Pro tip when storing your newly treated gear choose a cotton or mesh storage bag that allows breathability and prevents compression. Adding tennis balls during the drying process can help prevent clumping in down sleeping bags and maintain their loft. Your meticulous approach to drying and curing will significantly extend the life of your camping gear ensuring it remains water resistant and ready for your next outdoor adventure.
Step 5: Test Waterproofed Gear Before Your Trip
Before heading out on your outdoor adventure, testing your waterproofed gear is a crucial final step that ensures your equipment will perform reliably in real world conditions. Your goal is to validate the effectiveness of the waterproofing treatment and identify any potential weak points before you encounter actual wet environments.
The Washington Trails Association recommends conducting comprehensive waterproofing tests that simulate realistic outdoor scenarios. Start by spraying your treated gear with a steady stream of water from a garden hose or using a spray bottle to observe how water beads and rolls off the surface. Pay close attention to seams, zippers, and fabric intersections where water might potentially penetrate. For backpacks and jackets, hang the items vertically and observe water distribution checking for any areas where moisture begins to soak through or pool.
Pro tip when testing your gear indoors first create controlled moisture conditions by using a spray bottle with room temperature water. This approach allows you to carefully inspect the waterproofing performance without risking exposure to harsh outdoor elements. By methodically testing your gear you can confidently verify its water resistance and make any necessary touch ups before your camping trip ensuring your equipment remains dry and functional in unpredictable weather conditions.
Keep Your Camping Gear Dry and Comfortable With Hazli Collection
Waterproofing your camping gear is essential for staying comfortable and dry outdoors. The article highlights challenges like ensuring proper cleaning with no residue detergents and applying waterproof treatments carefully to keep your equipment protected. You want your tent, sleeping bags, and mattresses to resist moisture without losing breathability or durability. Above all, you want reliable gear you can count on no matter the weather.

Experience the difference that quality outdoor sleeping solutions make by exploring the range of high-performance camping gear at Hazli Collection. Our memory foam mattresses and camping accessories are designed for lasting comfort and dependability alongside your waterproofed equipment. Don’t wait until your next trip to upgrade your setup. Visit Hazli Collection now to find gear built for real outdoor adventure and comfort. Start your journey toward better rest and unbeatable protection today.
Frequently Asked Questions
How do I gather the essential waterproofing materials for my camping gear?
To gather the essential waterproofing materials, start by selecting specialized waterproofing treatments suitable for different materials. Collect items like a specialized outdoor gear cleaner, appropriate waterproofing spray, a soft bristle brush, clean microfiber cloths, protective gloves, and ensure you have a well-ventilated workspace.
What is the best way to clean camping gear before waterproofing?
The best way to clean camping gear involves using a diluted solution of a no-residue detergent with warm water. Carefully wash each surface with a soft cloth or sponge to remove dirt without damaging the fabric, and make sure your gear is completely dry before applying any waterproofing treatments.
How should I apply waterproofing treatments to my gear?
Apply waterproofing treatments by choosing either direct spraying or washing machine methods, depending on the type of gear. When spraying, lay your gear flat and apply the treatment evenly while avoiding oversaturation, ensuring to test the product on a small area first.
What techniques should I use to dry and cure my waterproofed gear?
Use a fan to dry your waterproofed gear in a well-ventilated area while avoiding direct sunlight to protect against UV damage. Allow the treatment to cure properly before storing, ideally in a breathable storage bag to maintain its effectiveness.
How can I test if my waterproofed camping gear is effective?
To test your waterproofed camping gear, simulate wet conditions by spraying the gear with water and observing how it beads and rolls off. Focus on seams and zippers, checking for any signs of moisture penetration, which helps ensure your gear performs well during actual use.
Recommended
- 7 Examples of Durable Camping Equipment for Outdoor Comfort – Hazli Collection
- 8 Essential Tent Camping Must-Haves for Comfort and Safety – Hazli Collection
- 7 Outdoor Sleeping Arrangement Ideas for Ultimate Comfort – Hazli Collection
- 7 Essential Camping Comfort Tips for a Restful Outdoor Stay – Hazli Collection