

By The Hazli Family — Peter & Louise · Reviewed June 2026
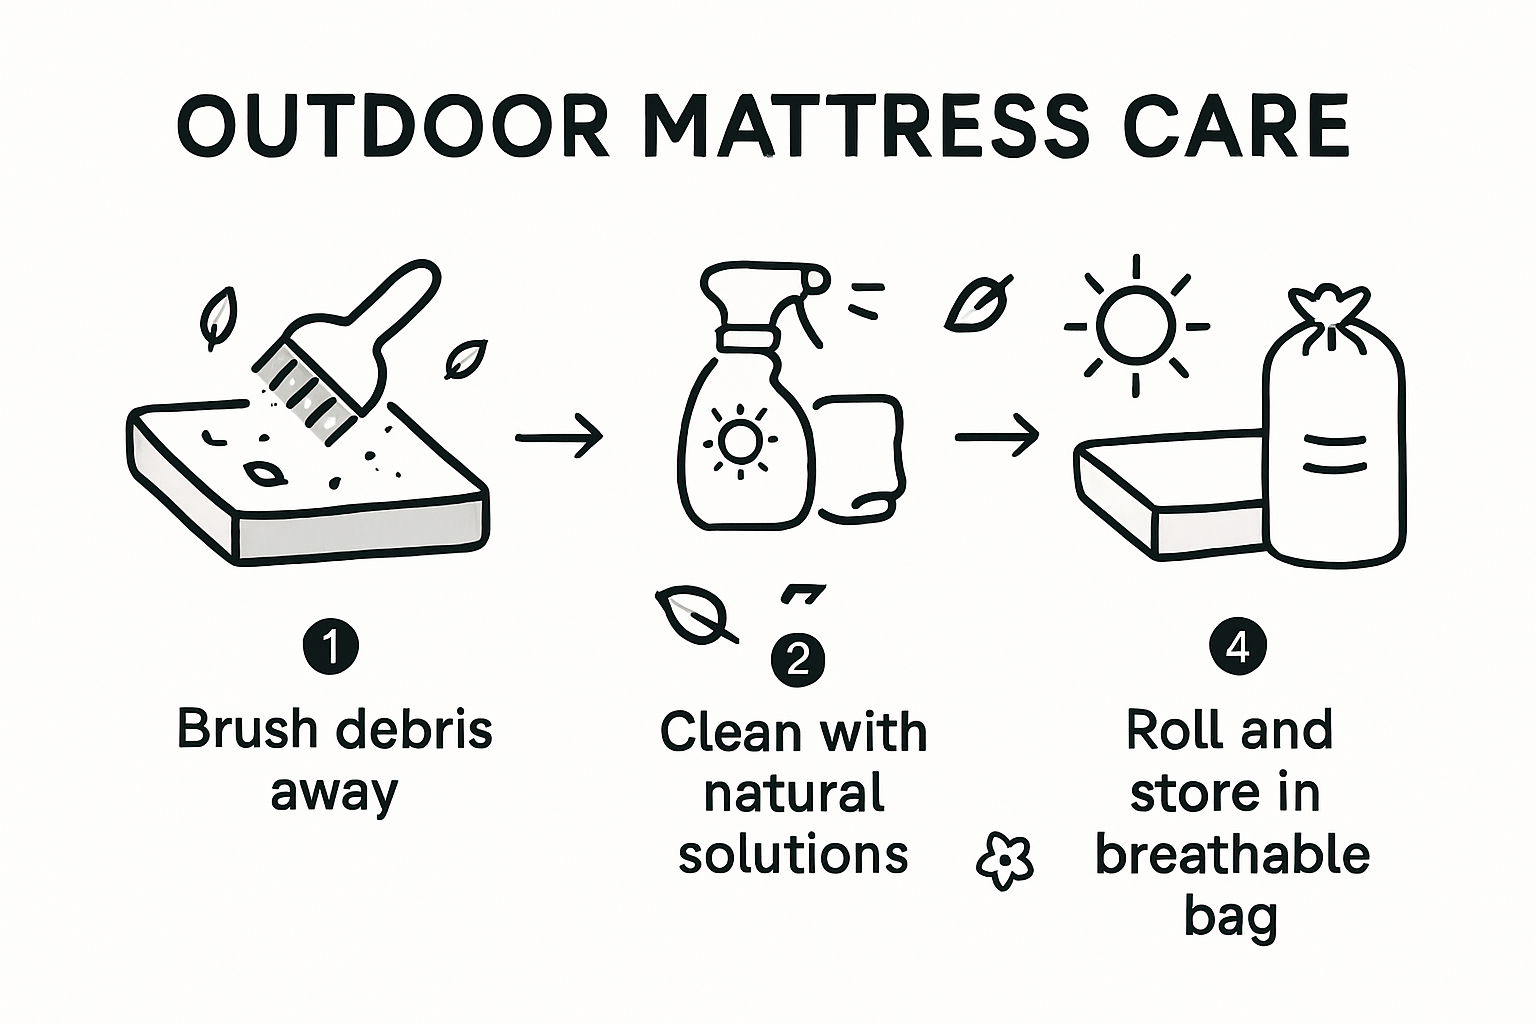
Quick answer: Care for a camping mattress by keeping it off bare ground, brushing off dirt after each trip, spot-cleaning with baking soda or diluted vinegar, and drying it fully in sunlight before packing. Store it loosely rolled in a breathable bag in a cool, dry place, and use a waterproof cover to block moisture and stains.
Over 60 percent of American campers say their outdoor mattress is one of the most important pieces of equipment they own. Yet with constant exposure to unpredictable weather, moisture, and rough terrain, keeping these mattresses in good shape can be a tough challenge. Knowing how to care for your gear not only saves you money but also ensures every night outdoors is comfortable and safe. Get clear, actionable advice to protect your investment and make every adventure feel like home.
Table of Contents
- Defining Outdoor Mattress Care Needs
- Selecting Outdoor Setup Methods
- Cleaning And Stain-Removal Outdoors
- Drying And Ventilation Strategies
- Protecting And Storing Outdoor Mattresses
Key Takeaways
| Point | Details |
|---|---|
| Importance of Mattress Care | Proper maintenance extends the lifespan and comfort of outdoor mattresses under environmental stressors like moisture and dirt. |
| Elevating Sleeping Surfaces | Using platforms or frames prevents direct ground contact, reducing damage from moisture and insects. |
| Effective Cleaning Techniques | Utilize natural cleaning agents and steam cleaning for tough stains while ensuring thorough drying to prevent mold. |
| Strategic Storage Methods | Store mattresses in climate-controlled environments with breathable covers to protect against environmental damage. |
Defining Outdoor Mattress Care Needs
Camping enthusiasts understand that an outdoor mattress represents a significant investment requiring strategic maintenance. Proper care instructions go far beyond basic cleaning, encompassing comprehensive protection strategies that preserve your gear’s performance and longevity.
Outdoor mattresses face unique environmental challenges that traditional indoor bedding never encounters. Moisture, temperature fluctuations, dirt, and direct sunlight can rapidly degrade mattress materials, causing premature wear, potential mold growth, and structural integrity loss. Mattress protection becomes critical when exposing your sleeping surface to unpredictable outdoor conditions. Mattress maintenance techniques involve several key approaches:
- Regular cleaning after each use
- Thorough drying before storage
- Using protective covers
- Storing in cool, dry environments
- Avoiding direct ground contact
Understanding your mattress’s specific material composition is fundamental to developing an effective care routine. Memory foam, for instance, requires different maintenance strategies compared to traditional spring or inflatable mattresses. Memory foam’s unique outdoor characteristics demand specialized attention to preserve its structural integrity and comfort properties. By implementing targeted care practices, outdoor enthusiasts can significantly extend their mattress’s functional lifespan and maintain optimal sleeping comfort during wilderness adventures.
Selecting Outdoor Setup Methods
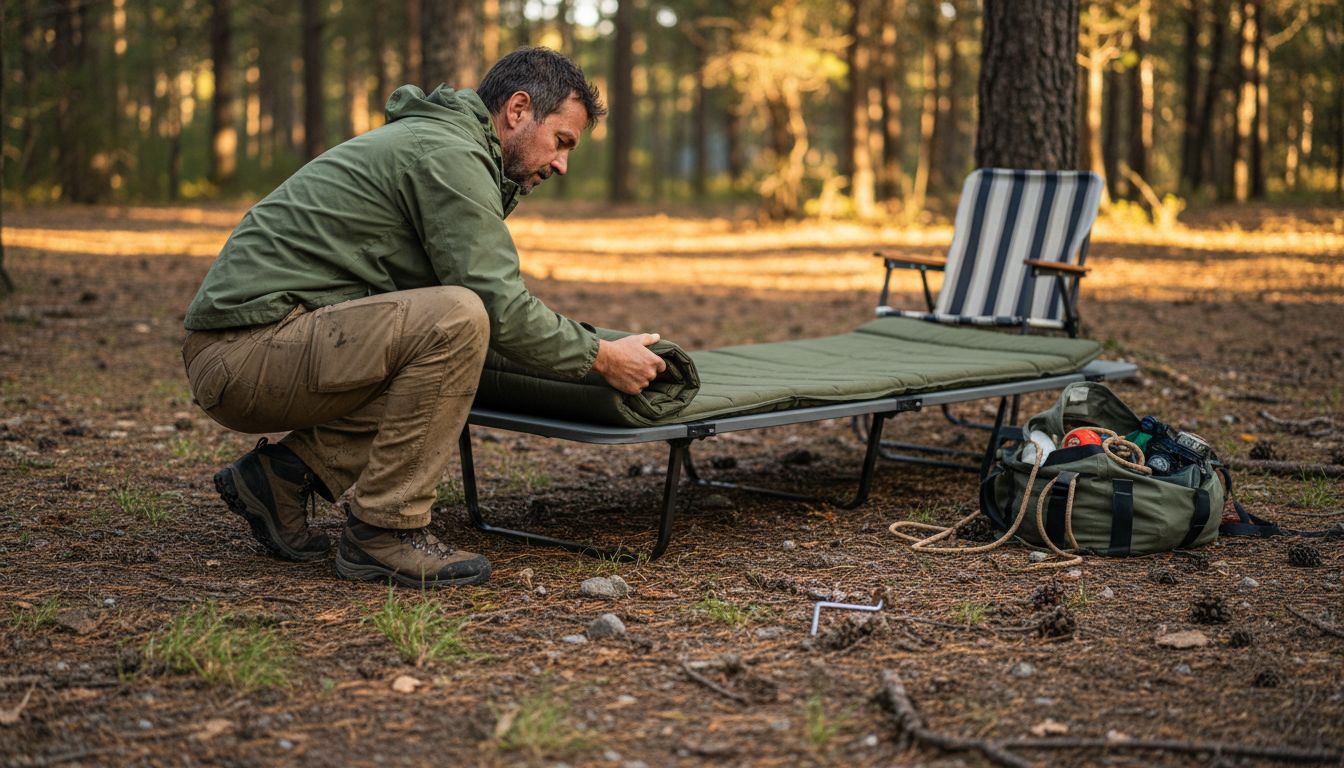
Selecting the right outdoor sleeping arrangement goes far beyond simply placing a mattress on the ground. Exploring innovative outdoor sleeping solutions requires careful consideration of terrain, environmental conditions, and equipment compatibility. Outdoor enthusiasts must think strategically about how they elevate and protect their sleeping surfaces.
Ground elevation plays a critical role in mattress preservation. Proper mattress support is fundamental to preventing structural damage, with experts recommending platforms or frames that lift the mattress away from direct ground contact. This approach protects against multiple environmental challenges:
- Moisture absorption
- Insect infiltration
- Uneven surface stress
- Temperature fluctuations
- Potential material degradation
Camping setup methods vary widely, ranging from minimalist ground setups to sophisticated elevated platforms. Durable camping equipment selections can significantly enhance your outdoor sleeping experience. Tent platforms, portable camping cots, inflatable bases, and specialized ground sheets offer diverse options for creating a stable, protected sleeping environment. The key is matching your setup method to your specific outdoor conditions, personal comfort preferences, and the unique characteristics of your camping mattress.
Cleaning And Stain-Removal Outdoors
Maintaining a clean outdoor mattress requires strategic approaches that go beyond traditional indoor cleaning methods. Outdoor environments introduce unique challenges like dirt, mud, tree sap, and unexpected wildlife encounters that can quickly compromise your sleeping surface.
Stain removal becomes critical when dealing with outdoor mattress maintenance. Natural cleaning techniques offer effective solutions for tackling tough spots without harsh chemicals. Campers can leverage household ingredients like white vinegar, baking soda, and hydrogen peroxide to address different types of stains:
- Hydrogen peroxide for protein-based stains
- Baking soda for odor absorption
- White vinegar for organic material removal
- Enzymatic cleaners for biological residues
Steam cleaning techniques provide another powerful method for sanitizing outdoor mattresses. By carefully applying heat and moisture, outdoor enthusiasts can eliminate dust mites, bacteria, and embedded dirt without saturating the mattress. The key is maintaining proper distance and ensuring complete drying to prevent potential mold growth. Quick-drying techniques, such as positioning the mattress in direct sunlight or using portable fans, can help maintain your gear’s hygiene and extend its functional lifespan.
Drying And Ventilation Strategies
Moisture management represents one of the most critical challenges for outdoor mattress preservation. Campers and outdoor enthusiasts must develop sophisticated strategies to protect their sleeping surfaces from humidity, condensation, and potential mold growth that can quickly compromise gear integrity.
Sunlight exposure offers a powerful natural solution for mattress maintenance. UV ray disinfection techniques provide an effective method for killing bacteria and eliminating odors. When drying your outdoor mattress, consider these strategic approaches:
- Position the mattress in direct sunlight
- Ensure complete air circulation around all surfaces
- Rotate the mattress periodically during drying
- Use elevated drying racks to maximize airflow
- Avoid damp or shaded environments
Ventilation strategies become even more critical in humid climates where moisture can rapidly accumulate. Outdoor enthusiasts should invest in portable dehumidifiers, moisture-wicking covers, and strategic drying techniques that prevent water retention. The goal is creating an environment that allows maximum air circulation, quickly removing any trapped moisture and preventing potential mildew or bacterial growth that could compromise your mattress’s long-term performance and comfort.
Protecting And Storing Outdoor Mattresses
Outdoor mattress preservation requires strategic planning and proactive protective measures that go beyond standard indoor storage techniques. Campers and adventure enthusiasts must develop comprehensive strategies to shield their valuable sleeping gear from environmental challenges.
Protective barriers play a critical role in mattress longevity. Mattress protection techniques involve using specialized covers that create a robust defense against multiple environmental threats. These protective layers offer multiple benefits:
- Blocking moisture infiltration
- Preventing dust mite accumulation
- Reducing direct exposure to dirt and debris
- Minimizing sweat and body oil absorption
- Creating a barrier against potential pest intrusion
Outdoor bedding organization becomes essential when considering long-term storage. Proper storage involves selecting climate-controlled environments, using breathable storage bags, and maintaining consistent temperature and humidity levels. Ideal storage locations include cool, dry spaces with minimal direct sunlight exposure. Rolled or flat storage methods should be selected based on your specific mattress material, with memory foam requiring particular care to maintain its structural integrity and prevent permanent deformation.
Protect Your Outdoor Mattress with Hazli Collection’s Trusted Solutions
Outdoor mattress care requires attention to moisture management, thorough cleaning, and effective protection from environmental threats like dirt and pests. If you want to extend the life of your memory foam mattress while enjoying unmatched comfort on every trip, choosing the right gear is essential. Hazli Collection offers high-quality camping mattresses designed with durability and practical care in mind, helping you tackle issues like moisture absorption and surface damage with ease.

Discover gear that complements expert care techniques such as using protective covers and proper ventilation. Visit Hazli Collection to explore our memory foam mattresses and camping accessories crafted for outdoor enthusiasts who demand comfort and reliability. Act now to protect your gear naturally and sleep peacefully wherever your adventures take you. Start your upgrade today at Hazli Collection and make mattress care effortless with trusted outdoor solutions.
Frequently Asked Questions
How should I clean my outdoor mattress after use?
It’s essential to clean your outdoor mattress regularly after each use. Use natural cleaning techniques like baking soda for odor absorption, white vinegar for organic material removal, and hydrogen peroxide for protein-based stains.
What are the best methods for drying an outdoor mattress?
Position your outdoor mattress in direct sunlight for effective drying. Ensure complete air circulation around all surfaces, and consider using elevated drying racks to maximize airflow while avoiding damp or shaded environments.
How can I prevent moisture buildup on my outdoor mattress?
To prevent moisture accumulation, invest in moisture-wicking covers and strategic drying techniques. Ensure your sleeping surface is stored in cool, dry environments with minimal humidity, and utilize portable dehumidifiers if necessary.
What kind of protective covers should I use for outdoor mattresses?
Use specialized protective covers that block moisture, prevent dust mite accumulation, and reduce exposure to dirt and debris. These covers create a robust barrier, significantly enhancing the longevity of your outdoor mattress.
Recommended
- Essential Outdoor Mattress Care Instructions for Comfort – Hazli Collection
- Complete Camp Mattress Cleaning Guide for Outdoor Comfort – Hazli Collection
- 7 Outdoor Sleeping Arrangement Ideas for Ultimate Comfort – Hazli Collection
- Essential Memory Foam Mattress Setup for Outdoor Comfort – Hazli Collection