

By The Hazli Family — Peter & Louise · Reviewed June 2026
Quick answer: Clean a memory foam mattress by vacuuming both sides with a brush attachment, spot-treating stains with a baking soda paste or 1:1 vinegar solution (mist, wait 5–10 minutes, blot), then deodorizing with dry baking soda for 8+ hours. Vacuum it off and air-dry 24–48 hours — never soak or steam the foam.
Every camping family in the United States knows how quickly dirt and outdoor grime can settle into a memory foam mattress after a few nights under the stars. Keeping these mattresses clean is vital for maintaining both comfort and hygiene during unpredictable adventures. With easy-to-follow steps and gentle cleaning solutions that protect delicate foam, this guide helps you create a fresh sleep environment no matter where your travels take you.
Table of Contents
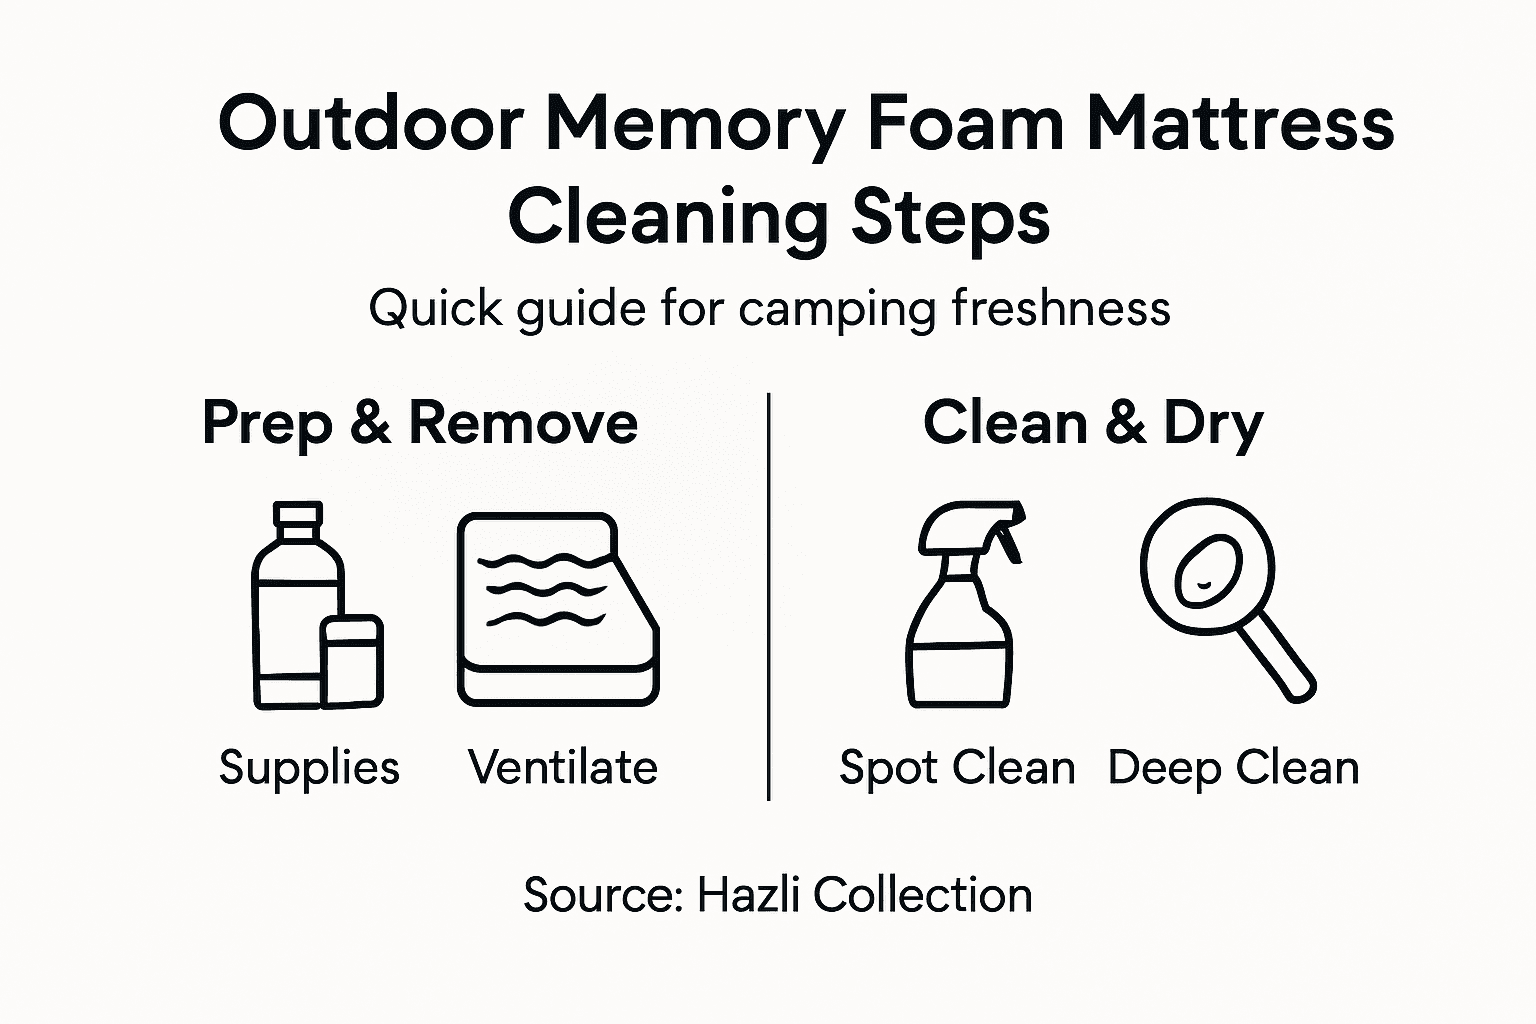
- Step 1: Gather Cleaning Supplies And Ventilate Area
- Step 2: Remove Dirt And Debris From Mattress Surface
- Step 3: Spot Clean Stains With Natural Solutions
- Step 4: Deep Clean And Deodorize Using Gentle Methods
- Step 5: Dry Thoroughly And Inspect For Freshness
Quick Summary
| Key Point | Explanation |
|---|---|
| 1. Gather all cleaning supplies first | Assemble a vacuum, cloths, detergent, and baking soda to ensure a smooth cleaning process without interruptions. |
| 2. Create proper ventilation for drying | Open windows and use fans to circulate air, preventing moisture buildup that can lead to mold and odors. |
| 3. Vacuum thoroughly before wet cleaning | Removing dust and debris with a vacuum prevents dirt from becoming a paste when applying liquid cleaners, protecting the foam. |
| 4. Use gentle, natural solutions for stains | Baking soda and diluted vinegar are effective for stain removal without damaging memory foam, promoting safe cleaning. |
| 5. Allow ample drying time after cleaning | Ensure your mattress dries completely for at least 24-48 hours to prevent mold and maintain comfort during future use. |
Step 1: Gather cleaning supplies and ventilate area
Before you start cleaning your memory foam mattress, you need to assemble everything you’ll use and set up your space properly. This step prevents you from running around looking for supplies mid-clean and ensures your mattress dries safely without moisture problems.
Start by collecting your cleaning arsenal. You’ll want a vacuum with a brush attachment to remove surface dust, dirt, and debris that accumulates during camping trips. Grab a spray bottle for applying your cleaning solution, several clean cloths or microfiber cloths that won’t shed fibers onto the foam, mild detergent that won’t damage the delicate material, and baking soda for odor control. Gentle cleaning solutions and microfiber cloths work best because memory foam is sensitive to harsh chemicals. If you’re dealing with stubborn stains from campfire smoke or outdoor grime, have some extra cloths on hand. Keep everything within arm’s reach before you begin.
Ventilation is your secret weapon here. Open all the windows and doors in your space to create maximum airflow. If you’re cleaning at your campsite or in a tent-adjacent area, position your mattress where natural breezes can reach both sides. Indoor cleaning works best near open windows or with fans running to keep air moving. Poor ventilation traps moisture in the foam, creating the perfect environment for mold and musty odors that ruin that fresh outdoor sleep experience. You want air flowing constantly throughout the cleaning and drying process. If you’re cleaning indoors during winter or in a humid environment, consider running a dehumidifier alongside your fans. This aggressive approach to airflow prevents the dampness that can damage your investment and compromise your comfort on future camping trips.
Remove all bedding, blankets, and protective covers from your mattress before starting. Take the time to move the mattress to your cleaning area if needed. Some families find it easier to clean memory foam mattresses outdoors or in a garage where ventilation is naturally better and water isn’t a concern. Position your mattress flat so you can access every surface easily.
Pro tip: Gather your supplies in a caddy or bucket so you can move everything together, and set up fans or open windows before you begin vacuuming to create airflow that helps with drying the moment you finish cleaning.
Step 2: Remove dirt and debris from mattress surface
This step eliminates the dust, dirt, and outdoor particles that have settled into your memory foam mattress during camping trips. Vacuuming first prevents you from grinding debris deeper into the foam when you apply wet cleaning solutions later.

Start by running your vacuum with the brush attachment across the entire mattress surface, moving in overlapping passes from one end to the other. Work methodically, covering every inch of the top side before flipping or repositioning to tackle the bottom. Pay special attention to the seams and crevices where particles hide. Vacuuming seams and crevices removes allergens and dust mites that accumulate in those tight spaces. Use gentle, steady pressure with the brush attachment to loosen embedded particles without gouging or damaging the foam. The brush bristles lift dirt and debris without the aggressive suction that might compress or tear the material.
Your vacuum’s brush attachment is crucial because it does two things at once. It agitates the foam surface to dislodge particles that have settled in, and then suctions them away before they embed deeper. If you don’t have a brush attachment, use the upholstery tool that came with your vacuum. Avoid using the motorized beater bar that’s designed for carpets, as that can damage memory foam. Move your vacuum in a steady pattern, overlapping each pass slightly so nothing gets missed. After completing the entire surface, do a second pass in the opposite direction to catch anything you might have missed on the first round.
As you vacuum, you’ll probably be surprised at how much comes out. Campsite environments introduce dust, sand, pollen, and organic material that settles into the foam. This dry removal step is non-negotiable because it prevents that debris from turning into a muddy paste when you apply liquid cleaners. You want your foam clean and dry before any moisture touches it.
If your mattress has a removable fabric cover, now is the time to vacuum that separately too. Take it off if possible and give it a thorough vacuuming on both sides. Some removable covers can be washed separately in cool water, which is a bonus. Once you’ve finished vacuuming everything, step back and visually inspect the mattress. It should look noticeably lighter in color and feel less gritty to the touch. If you see stubborn spots or stains, note their location because you’ll address those during the wet cleaning phase.
Pro tip: Use a handheld attachment or crevice tool to vacuum along the mattress edges and piping, then pass over the entire surface twice with overlapping strokes to ensure you’ve captured all loose particles before moving to liquid cleaning.
Step 3: Spot clean stains with natural solutions
Now that you’ve removed loose debris, it’s time to tackle any visible stains your mattress picked up during outdoor adventures. Natural cleaning solutions work beautifully on memory foam because they break down stains without leaving chemical residues or damaging the delicate material.
Start by identifying your stains and choosing the right solution. For most stains like sweat, dirt, or general grime, mix equal parts baking soda and water to create a paste. For tougher or more acidic stains, dilute white vinegar with water in a 1 to 1 ratio. Both approaches are gentle on foam while being effective against common camping stains. Natural solutions like baking soda and vinegar effectively break down stains without harsh chemicals. Apply your chosen solution using a spray bottle, but here’s the critical part: mist lightly rather than soak. You want the stain area damp, not wet. A light misting prevents moisture from soaking deep into the foam where it can promote mold growth or cause the mattress to take forever drying.
Once you’ve applied your solution, let it sit for 5 to 10 minutes. This waiting period allows the natural cleaning agents to work on breaking down the stain. Set a timer on your phone so you don’t forget. After the time is up, use a clean cloth to blot the stain gently. Blotting means pressing down and lifting, not rubbing in circles. Rubbing can spread the stain or push it deeper into the foam. Work from the outside edges of the stain toward the center to prevent it from spreading further. You may need to blot multiple times as the stain transfers onto your cloth.
If the stain is stubborn and hasn’t fully lifted, repeat the process. Apply your solution again, wait another 5 to 10 minutes, and blot once more. Don’t get frustrated if it takes a few rounds to completely remove old or set in stains. Patience beats aggression here. For lingering odors after the stain is gone, sprinkle dry baking soda directly onto the treated area and let it sit for 15 to 30 minutes. The baking soda absorbs any remaining moisture and odors naturally. After that time, vacuum it off thoroughly using your brush attachment.
If your mattress has stubborn organic stains like blood or old sweat marks, a mild dish soap solution diluted with water works well. Mix just a few drops of mild dish soap into a spray bottle of water. The soap helps lift oily residues that water alone cannot remove. Apply, wait, and blot just as you would with the baking soda or vinegar solutions. The key principle remains the same: light application, patience, and gentle blotting. Never saturate your memory foam mattress.
Here’s a quick reference for recommended cleaning solutions and their effectiveness on common camping mattress stains:
| Stain Type | Recommended Solution | How It Works | Effectiveness Level |
|---|---|---|---|
| Sweat/Stale Odors | Baking soda + water | Absorbs moisture and odors | High |
| Dirt/General Grime | Vinegar diluted 1:1 | Breaks down grime gently | Moderate |
| Blood/Organic Stains | Mild dish soap + water | Lifts oily or protein residues | High |
| Campfire Smoke | Dry baking soda | Neutralizes lingering odors | Good |
Pro tip: Test any cleaning solution on a hidden area of the mattress first to ensure it doesn’t discolor the fabric, then work from light solutions like plain water to vinegar to baking soda paste, only escalating to dish soap if earlier attempts don’t work.
Step 4: Deep clean and deodorize using gentle methods
After spot cleaning, your mattress needs a thorough deep clean to remove embedded odors and refresh the entire surface. This step transforms a mattress that smells stale from outdoor use into one that feels truly fresh for your next camping trip.
The safest and most effective deep cleaning method for memory foam uses baking soda, a natural deodorizer that works without introducing moisture or harsh chemicals. Start by sprinkling baking soda evenly across the entire top surface of your mattress. Don’t be shy with the application. You want visible coverage that looks almost like a light snow blanket across the foam. Work in sections if your mattress is large, making sure you cover every area including the sides and edges. If your mattress has a fabric cover with quilted patterns or texture, take extra time to work the baking soda into those indentations where odors like to hide.
Now comes the waiting game, and this is where the magic happens. Leave the baking soda sitting on your mattress for at least 8 hours. Many experienced campers recommend doing this overnight or even longer if possible. The longer the baking soda sits, the more time it has to absorb moisture, odors, and stale smells trapped deep in the foam. Baking soda effectively absorbs moisture and odors while being completely safe for memory foam. During this waiting period, keep your mattress in a well-ventilated area. Open windows, run fans, and maintain good air circulation. This combination of baking soda plus ventilation creates ideal conditions for odor elimination. If you’re cleaning your mattress during a sunny day, position it where sunlight can reach it. Sunlight acts as a natural disinfectant and helps with odor elimination too.
After the waiting period ends, thoroughly vacuum off all the baking soda using your brush attachment. This is important work, so don’t rush it. Vacuum in overlapping passes across the entire surface, then flip the mattress and repeat on the other side. You might be surprised how much baking soda remains even after what seems like thorough vacuuming. Do a second pass to catch what you missed the first time. Some foam mattresses have textured covers, and baking soda can settle into those textures, so extra attention to crevices and seams is warranted.
For mattresses that need even deeper deodorizing, you can repeat this baking soda treatment. Some families with heavily used camping mattresses or mattresses that have absorbed campfire smoke do a second round of baking soda treatment several days later. The first application removes a significant portion of odors, and a second application handles stubborn remaining smells. There’s no risk to using baking soda repeatedly, so feel free to reapply if your mattress needs it.
What you should avoid is steam cleaning or any wet deep cleaning method. Memory foam retains moisture when exposed to steam, which leads to mold growth and structural damage over time. Stick with the dry baking soda method. It’s gentle, effective, and leaves your memory foam mattress in perfect condition for comfortable sleeping.
Pro tip: Sprinkle baking soda in the evening, let it sit overnight while your space is ventilated, then vacuum thoroughly the next morning, and your mattress will smell noticeably fresher with less effort than you’d expect.
Step 5: Dry thoroughly and inspect for freshness
Drying your memory foam mattress properly is just as important as the cleaning itself. Moisture left behind can damage the foam structure and create an environment where mold thrives. This final step ensures your mattress is completely ready for fresh, comfortable outdoor sleep.
Position your mattress in a well-ventilated area where air can circulate freely on all sides. If you cleaned your mattress indoors, move it near an open window or door. Ideally, position it where natural sunlight can reach it, as sunlight acts as a natural disinfectant and accelerates drying. If weather permits, cleaning and drying outdoors is your best option because the natural airflow does most of the work for you. Even a light breeze significantly speeds up the drying process. Set up fans to create additional air movement if you’re drying indoors. Point fans toward the mattress from different angles to ensure air reaches all surfaces, not just the top. The goal is constant air circulation, not just having fans running in the background.
Compare these drying options to help prevent mold and ensure a fresh mattress:
| Drying Location | Airflow Quality | Sunlight Exposure | Mold Risk |
|---|---|---|---|
| Outdoors (sunny day) | Excellent | Direct sunlight | Very low |
| Garage or covered area | Good | Indirect sunlight | Low |
| Indoors, open windows | Moderate | Limited sunlight | Moderate |
| Indoors, no ventilation | Poor | No sunlight | High |
Now comes the patience part. Memory foam mattresses require thorough drying to prevent moisture from becoming trapped inside the foam. Allow at least 24 hours of drying time in good conditions, but 48 hours is even better if you have the time. If you cleaned your mattress during a humid day or in a damp climate, extend drying time to 48 to 72 hours. You cannot rush this step. Putting bedding on a damp mattress defeats the entire purpose of your cleaning effort and creates the perfect breeding ground for mold and mildew. Check your mattress periodically throughout the drying process. Press your hand firmly onto different areas of the foam. It should feel completely dry to the touch, not cool or clammy. Pay special attention to the edges and undersides where moisture tends to linger longer.
Once you believe the mattress is dry, do a thorough freshness inspection before making your bed. Walk around the mattress and visually examine it for any wet spots, discoloration, or damp patches. Use your nose too. Lean close and take a deep breath. Your cleaned mattress should smell fresh and clean, not musty or damp. If you detect any remaining odors, the mattress likely still contains moisture. Set up fans again and give it more drying time. There is no downside to over drying. You cannot dry a memory foam mattress too much.
Inspect the mattress surface for any stains you may have missed during the spot cleaning phase. If you notice stubborn marks that didn’t come out, you can address them now before the mattress is fully integrated back into use. Sometimes stains become more visible after drying, so this final inspection catches anything that slipped through. Once you are satisfied that the mattress is completely dry and fresh, you can finally replace your bedding.
Before putting your mattress back into active camping rotation, consider storing it in a cool, dry location if you won’t be using it immediately. If you’re putting it directly into your camper or tent, make absolutely certain it is completely dry. Moisture combined with enclosed spaces and poor ventilation is how mold problems start. Your investment in a quality memory foam mattress deserves this careful final step.
Pro tip: Set a phone reminder for every 12 hours during the drying period to do a moisture check by pressing your hand firmly onto different spots, and don’t make your bed until the mattress feels completely dry all the way through.
Elevate Your Outdoor Sleep Experience with Hazli Collection
Cleaning your memory foam mattress after a camping trip can be a time-consuming challenge that demands patience and careful attention to detail. From removing stubborn stains with natural solutions to thoroughly deodorizing and drying your mattress to prevent mold and odors, every step in the cleaning process is crucial for maintaining comfort and freshness. If you want to save time while ensuring long-lasting comfort on your outdoor adventures, Hazli Collection offers premium memory foam mattresses designed for durability and easy maintenance.

Discover how our thoughtfully crafted outdoor sleep gear can transform your camping comfort. Shop now at Hazli Collection to explore high-quality memory foam mattresses tailored for durability and freshness. Take advantage of seamless checkout options and customizable features to find the perfect mattress for your next trip. Don’t wait until your mattress needs deep cleaning—upgrade today for a reliably fresh and restful outdoor sleep experience.
Frequently Asked Questions
How do I gather supplies for cleaning my memory foam mattress?
To gather supplies, collect a vacuum with a brush attachment, a spray bottle, clean cloths, mild detergent, and baking soda. Ensure that all tools are within reach before starting the cleaning process to facilitate a smooth experience.
What is the best way to ventilate my cleaning area when cleaning a memory foam mattress?
Ventilate your cleaning area by opening all windows and doors to create maximum airflow. If cleaning outdoors, place the mattress where natural breezes can circulate to ensure effective drying and prevent moisture buildup.
How do I effectively vacuum my memory foam mattress?
To vacuum your memory foam mattress, use the brush attachment and move in overlapping passes to cover the entire surface, paying extra attention to seams and crevices. Perform this process twice, alternating directions to ensure you collect all debris without damaging the foam.
What natural solutions can I use for spot cleaning stains on my memory foam mattress?
For spot cleaning stains, use a baking soda and water paste for general grime or a diluted white vinegar solution for tougher stains. Apply the solution lightly to dampen the area, let it sit for 5 to 10 minutes, and blot gently with a clean cloth.
How can I deep clean and deodorize my memory foam mattress?
Deep clean your mattress by sprinkling a generous amount of baking soda on the surface and letting it sit for at least 8 hours, preferably overnight. This will absorb odors effectively, so make sure to vacuum it thoroughly afterward for optimal freshness.
What is the best method to ensure my memory foam mattress dries thoroughly?
To ensure your memory foam mattress dries thoroughly, place it in a well-ventilated area with access to sunlight and air circulation. Allow at least 24 to 48 hours of drying time, and conduct periodic moisture checks by pressing your hand onto different spots to confirm that it feels completely dry.
Recommended
- Complete Camp Mattress Cleaning Guide for Outdoor Comfort – Hazli Collection
- Essential Outdoor Mattress Care Instructions for Comfort – Hazli Collection
- Essential Memory Foam Mattress Setup for Outdoor Comfort – Hazli Collection
- 7 Outdoor Sleeping Arrangement Ideas for Ultimate Comfort – Hazli Collection