

By The Hazli Family — Peter & Louise · Reviewed June 2026
Quick answer: A camping sleep system is the combination of a sleeping bag and an insulated sleeping pad (or camping mattress) matched to expected temperatures. Check the bag's temperature rating, choose down or synthetic insulation for your climate, and pair it with a pad whose R-value suits the ground conditions — comfort, warmth, and packability all depend on this match.
Did you know that poor sleep quality is the number one reason campers cut their trips short, according to a recent survey by the American Hiking Society? Comfort and warmth matter when you are outdoors, and your sleep system can make the difference between restful nights and restless tossing. Understanding what goes into a reliable sleep setup helps you enjoy every moment under the stars by keeping you cozy and protected in any environment.
Table of Contents
- Defining Sleep Systems For Camping
- Types Of Camping Sleep Systems Explained
- Key Features: Insulation, Comfort, And Portability
- How To Choose The Right Sleep System
- Common Pitfalls And Comparison With Alternatives
Key Takeaways
| Point | Details |
|---|---|
| Understanding Sleep Systems | A sleep system combines sleeping bags and pads tailored for environmental conditions to ensure comfort and protection during outdoor stays. |
| Key Components | The effectiveness of a sleep system relies on insulation type, temperature ratings, and compatibility between bag and pad. |
| Types of Sleep Systems | Options range from ultralight backpacking systems to car camping setups, each suited for different scenarios and personal preferences. |
| Avoiding Common Pitfalls | Campers should be mindful of insulation ratings and comfort levels, ensuring proper selection to enhance their outdoor sleeping experience. |
Defining Sleep Systems for Camping
A sleep system is a comprehensive setup designed to provide comfort, warmth, and protection during outdoor overnight stays. According to the American Hiking Society, a typical camping sleep system includes two primary components: a sleeping bag and a sleeping pad, which work together to ensure campers remain comfortable in varying environmental conditions.
At its core, a sleep system serves several critical functions for outdoor enthusiasts. The sleeping bag acts as a protective insulation layer, trapping body heat and shielding users from cold temperatures. As noted by Scout Wiki, these bags are engineered to create a personal microclimate that maintains optimal body temperature throughout the night. The accompanying sleeping pad serves an equally important role by providing a barrier between the sleeper and the ground, which helps prevent heat loss and adds crucial cushioning for a more restful sleep.
The effectiveness of a sleep system depends on understanding how its components interact. Different camping environments require different sleep system configurations - from lightweight backpacking setups to more robust car camping arrangements. Key considerations include:
- Temperature rating of sleeping bag
- Insulation type (down or synthetic)
- Pad thickness and R-value
- Weight and packability
- Compatibility between bag and pad
By selecting the right combination of equipment, campers can create a personalized sleep system that ensures comfort and protection in diverse outdoor settings. Learn more about outdoor sleep solutions in our guide on essential camping comfort.
Types of Camping Sleep Systems Explained
Camping sleep systems are diverse and tailored to different outdoor environments and personal preferences. According to American Hiking Society research, these systems typically combine sleeping bags and pads in various configurations to provide optimal comfort and temperature regulation. The fundamental components include sleeping bags with different insulation types and sleeping pads that offer protection and cushioning from the ground.
Two primary categories of sleeping bags dominate the camping market: down and synthetic insulation. Down bags offer exceptional warmth-to-weight ratio and compress more easily, making them ideal for backpackers, while synthetic bags perform better in wet conditions and retain insulation properties when damp. Scout Life notes that sleeping pads also come in two main varieties: closed-cell foam pads and air mats, each with unique advantages for different camping scenarios.
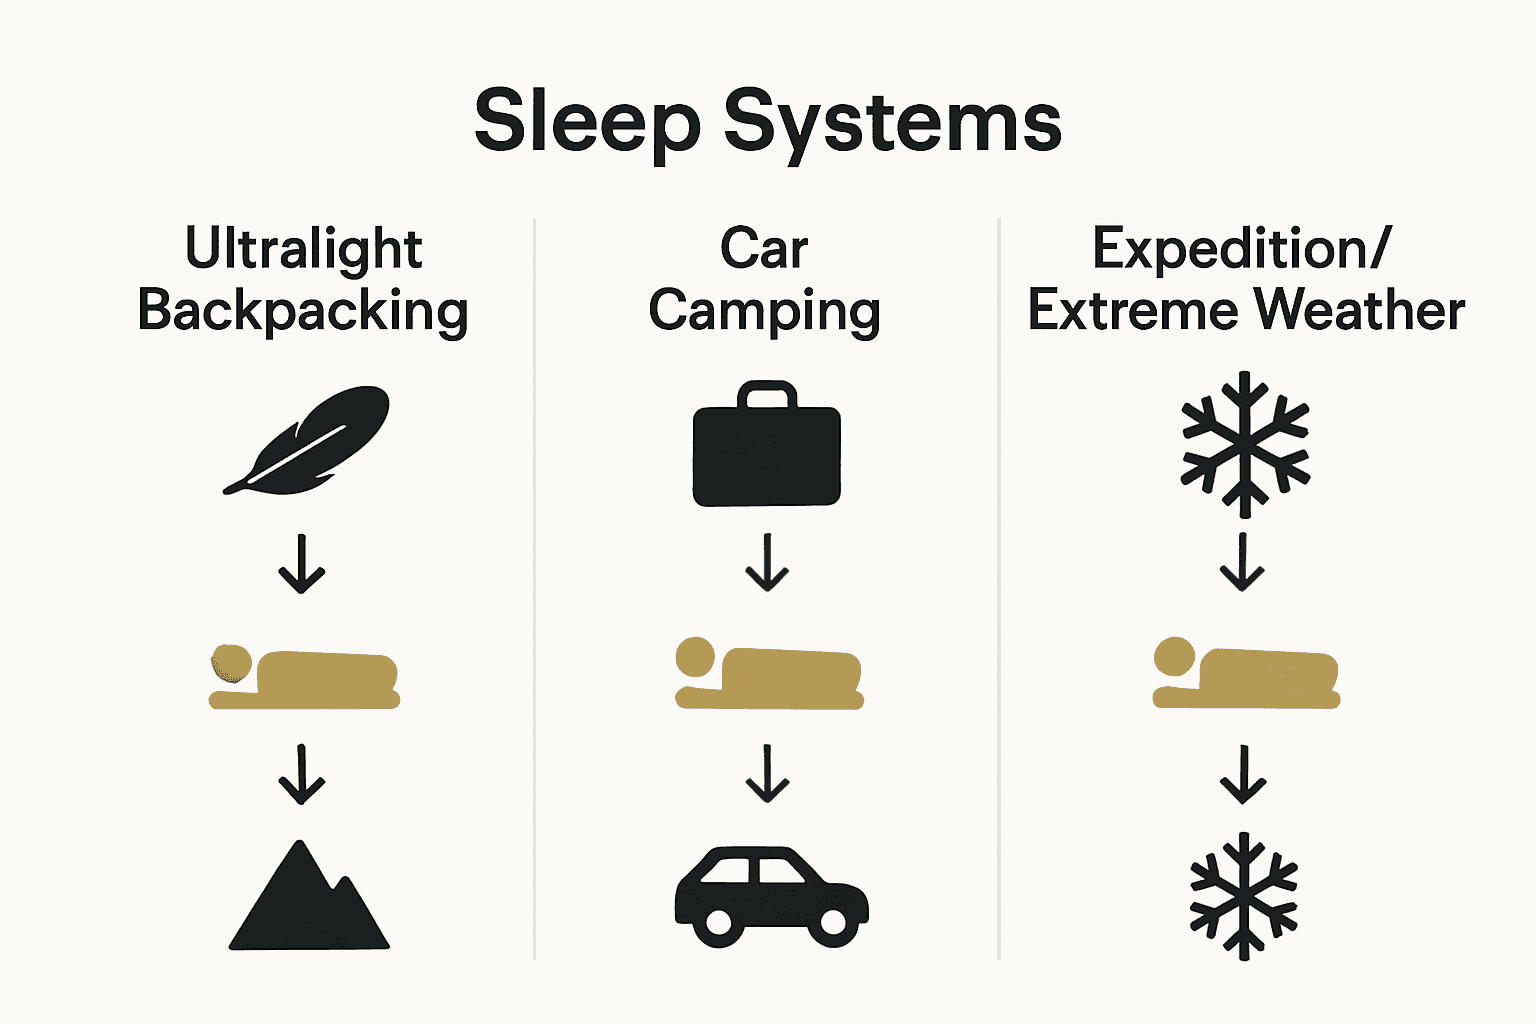
The primary types of camping sleep systems include:
Here’s a comparison of the main types of camping sleep systems:
| Sleep System Type | Weight & Portability | Comfort Level | Best For |
|---|---|---|---|
| Ultralight Backpacking | Very light Compact |
Moderate | Thru-hiking Fastpacking |
| Car Camping | Heavy Bulky |
Very high | Drive-up sites Families |
| Expedition/Extreme Weather | Moderate Bulky |
High | Cold weather Winter trips |
| Minimalist Bivy | Ultra-light Tiny |
Low | Emergencies Solo trips |
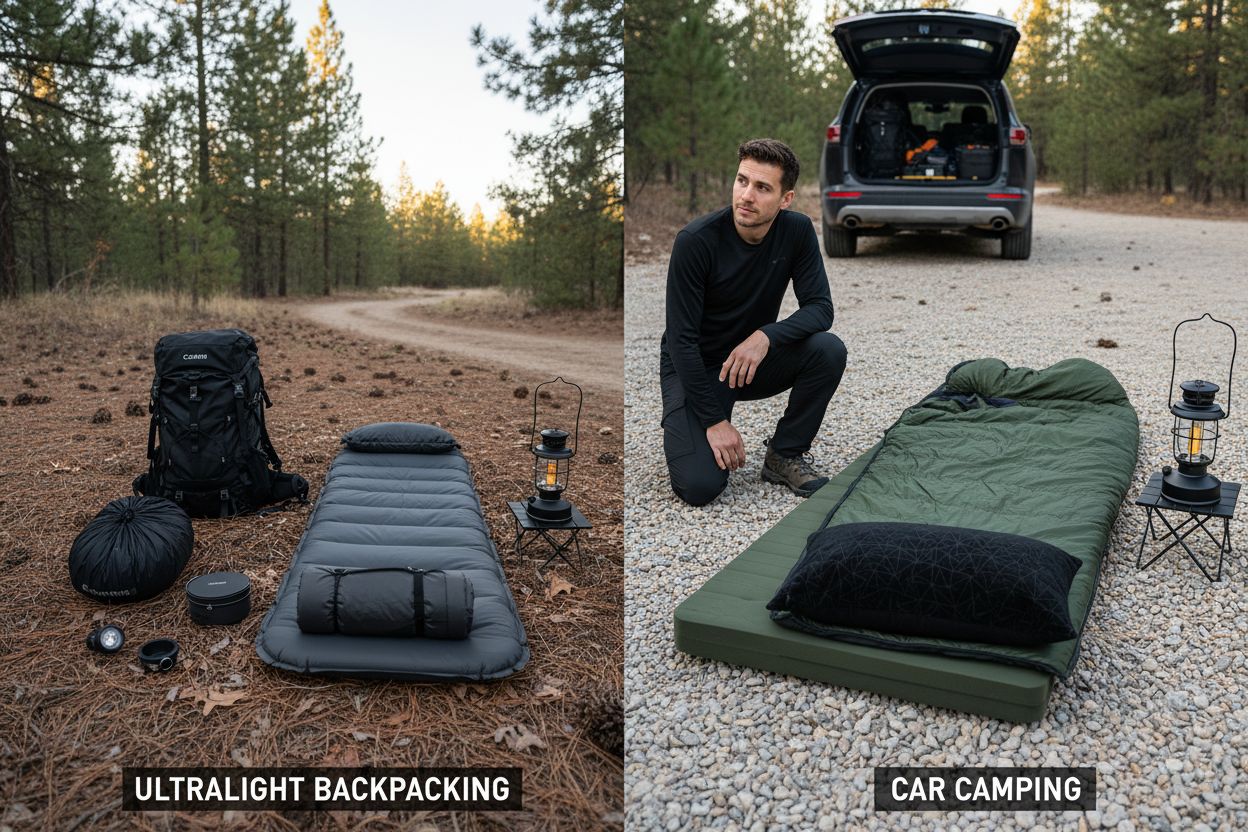
- Ultralight Backpacking System: Minimal weight, compact design
- Car Camping System: Maximum comfort, heavier components
- Expedition/Extreme Weather System: Advanced thermal protection
- Minimalist Bivy System: Compact, emergency-focused setup
Choosing the right sleep system depends on factors like trip duration, expected temperatures, and personal comfort preferences.
 Learn more about improving camp sleep naturally for optimal outdoor comfort and discover how the right equipment can transform your outdoor sleeping experience.
Key Features: Insulation, Comfort, and Portability
Camping sleep systems are defined by three critical features: insulation, comfort, and portability. According to American Hiking Society research, these elements work together to create an effective outdoor sleeping solution that protects and supports campers in various environmental conditions. The right combination of these features can dramatically improve the overall camping experience.
Insulation is the cornerstone of any effective sleep system. The fill material in sleeping bags and the R-value of sleeping pads determine how well a system retains body heat. Down and synthetic insulations offer different advantages - down provides exceptional warmth-to-weight ratio, while synthetic materials perform better in damp conditions. Scout Life emphasizes that sleeping pad R-values are crucial, with higher numbers indicating superior thermal protection against cold ground.
Key considerations for each critical feature include:
-
Insulation:
- Fill power and type of sleeping bag insulation
- Sleeping pad R-value
- Temperature rating compatibility
-
Comfort:
- Pad thickness
- Sleeping bag interior material
- Ergonomic design
-
Portability:
- Compressed pack size
- Total weight
- Ease of setup
Discover more camping comfort hacks for an enhanced outdoor experience and learn how to optimize your sleep system for maximum enjoyment in the great outdoors.
How to Choose the Right Sleep System
Choosing the perfect sleep system requires careful consideration of multiple factors that impact your comfort and performance in outdoor environments. According to the American Hiking Society, the selection process involves evaluating temperature ratings, insulation types, and sleeping bag shapes to match your specific camping conditions and personal preferences.
Your first priority should be understanding the environmental conditions you’ll encounter. Temperature ratings are crucial - they indicate the lowest temperature at which a sleeping bag will keep you comfortable. Scout Life emphasizes that sleeping pads play an equally important role, with their R-value determining thermal protection against cold ground. Down insulation offers superior warmth-to-weight ratio for cold, dry environments, while synthetic materials perform better in damp or humid conditions.
Key selection criteria include:
- Temperature Considerations:
- Expected nighttime temperatures
- Seasonal camping conditions
- Personal cold/heat sensitivity
- Sleeping Bag Selection:
- Mummy vs. rectangular shape
- Insulation type (down or synthetic)
- Weight and packability
- Sleeping Pad Evaluation:
- R-value for insulation
- Thickness and comfort level
- Inflation type (self-inflating vs. manual)
Check out our comprehensive guide on camp bedding organization to maximize your outdoor comfort and ensure you select the most suitable sleep system for your next adventure.
Common Pitfalls and Comparison With Alternatives
Navigating the world of camping sleep systems requires understanding potential mistakes and exploring alternative solutions. According to Scout Life, one of the most critical pitfalls is selecting sleeping pads with insufficient R-value, which can lead to inadequate ground insulation and uncomfortable nights in the wilderness.
The American Hiking Society highlights several alternative sleep system configurations that campers might consider. Sleeping quilts offer a lightweight alternative to traditional sleeping bags, eliminating bottom insulation to reduce weight and provide more versatility. Bivy sacks represent another minimalist option, providing basic shelter and protection but sacrificing the comfort and spaciousness of traditional tent and sleeping bag combinations. These alternatives come with distinct trade-offs in terms of warmth, weight, and overall camping experience.
Common pitfalls to avoid include:
-
Insulation Failures:
- Underestimating temperature ratings
- Choosing inappropriate insulation for conditions
- Neglecting sleeping pad R-value
-
Weight and Portability Issues:
- Selecting overly bulky equipment
- Overlooking pack size and compression
- Ignoring total system weight
-
Comfort Misconceptions:
- Prioritizing weight over comfort
- Assuming one-size-fits-all solutions
- Neglecting personal sleeping preferences
Explore our essential outdoor sleep solutions to help you make informed choices and avoid common camping sleep system pitfalls.
Elevate Your Outdoor Sleep with the Perfect Sleep System
Camping comfort is about more than just resting outdoors. The challenge of choosing the right sleeping bag and pad combo for warmth, insulation, and portability can make or break your nights under the stars. This guide uncovered how critical the right temperature rating, insulation type, and pad R-value are for ensuring restful sleep and protection against the elements.
Don’t let cold nights or uncomfortable gear cut your adventures short. At Hazli Collection, we understand how frustrating it is to wake up sore and restless. That is why we specialize in high-quality outdoor sleep solutions including memory foam mattresses designed to deliver unmatched comfort and support tailored to camping life. Discover how to blend warmth, durability, and easy setup with our thoughtfully curated products.

Explore our full range of camping gear and sleep essentials now at Hazli Collection. Ready to upgrade your sleep system? Start by learning tips to improve camp sleep naturally and get inspired by practical outdoor sleep solutions. Embrace better rest for every adventure and shop with confidence today.
Frequently Asked Questions
What is a sleep system for camping?
A sleep system for camping is a comprehensive setup designed to provide comfort, warmth, and protection, typically consisting of a sleeping bag and a sleeping pad that work together to ensure a good night’s sleep in outdoor environments.
How do I choose the right sleeping bag for my camping trip?
When choosing a sleeping bag, consider the temperature rating, insulation type (down or synthetic), and the bag’s shape (mummy or rectangular) based on the expected conditions and your personal preferences for warmth and space.
What is the importance of R-value in sleeping pads?
The R-value of a sleeping pad indicates its thermal resistance. A higher R-value means better insulation from the cold ground, making it crucial for maintaining warmth during colder camping conditions.
What are common mistakes to avoid when selecting a camping sleep system?
Common mistakes include underestimating temperature ratings, choosing a sleeping pad with insufficient R-value, prioritizing weight over comfort, and assuming a one-size-fits-all solution will work for every camper’s needs.