

By The Hazli Family — Peter & Louise · Reviewed June 2026
Quick answer: To organize camping gear, gather everything and sort it into categories like shelter, sleep, cooking, and clothing, then clean, inspect, and repair each item. Pack gear into clear, labeled containers with frequently used items on top, and test your system in a mock setup so essentials stay accessible on every trip.
Over 80 percent of American campers admit that forgetting even one essential item can turn an outdoor adventure into a hassle. Gear preparation matters because unexpected weather, wildlife, or simple discomfort can ruin a trip if you miss something crucial. This guide breaks down the smart steps to assessing, sorting, repairing, and packing camping equipment to make sure every American explorer heads out confidently and avoids last-minute surprises.
Table of Contents
- Step 1: Assess And Gather All Camping Gear
- Step 2: Sort Items By Category And Use
- Step 3: Clean, Inspect, And Repair Equipment
- Step 4: Pack Into Labeled Containers And Bags
- Step 5: Verify Accessibility And Test Organization
Quick Summary
| Key Insight | Explanation |
|---|---|
| 1. Assess and gather gear | Organize camping equipment into categories to identify what is functional, needs repair, or requires replacement. |
| 2. Sort items by category | Divide gear into clear categories for efficient packing and easy access during your trip. |
| 3. Clean and inspect equipment | Ensure each item is thoroughly cleaned and inspected for wear and functionality before departure. |
| 4. Pack using labeled containers | Use clear bags or boxes with labels to organize gear, facilitating quick access and preventing damage. |
| 5. Verify organization and accessibility | Simulate a camping scenario to confirm your packing system’s efficiency and accessibility of crucial items. |
Step 1: Assess and Gather All Camping Gear
Successfully preparing for a camping trip starts with a comprehensive gear assessment. The key is to gather and organize all your equipment methodically, ensuring you are fully prepared for your outdoor adventure.
Begin by following the National Park Service recommendations for identifying essential camping tools, which include creating a top 10 essentials checklist. This list should encompass critical items like navigational supplies, sun and insect protection, insulation, shelter, illumination, first aid kit, fire starting tools, extra food and water, repair kits, and communication devices. Professional campers suggest laying out all your gear and systematically categorizing items into specific groups: Food, Water, Clothing and Shelter, and optional Comfort items.
Within each category, create three strategic piles to assess your equipment thoroughly. The first pile contains items in perfect working condition that you will definitely keep. The second pile includes items that are functional but might need minor repairs or attention. The final pile consists of gear that is compromised or no longer suitable for use. This sorting method helps you quickly identify what needs replacement before your trip and ensures you are traveling with reliable equipment.
Pro tip: Before your camping trip, do a practice run by setting up your tent, checking all equipment functionality, and packing a mock gear bag to identify any potential issues or missing items in advance.
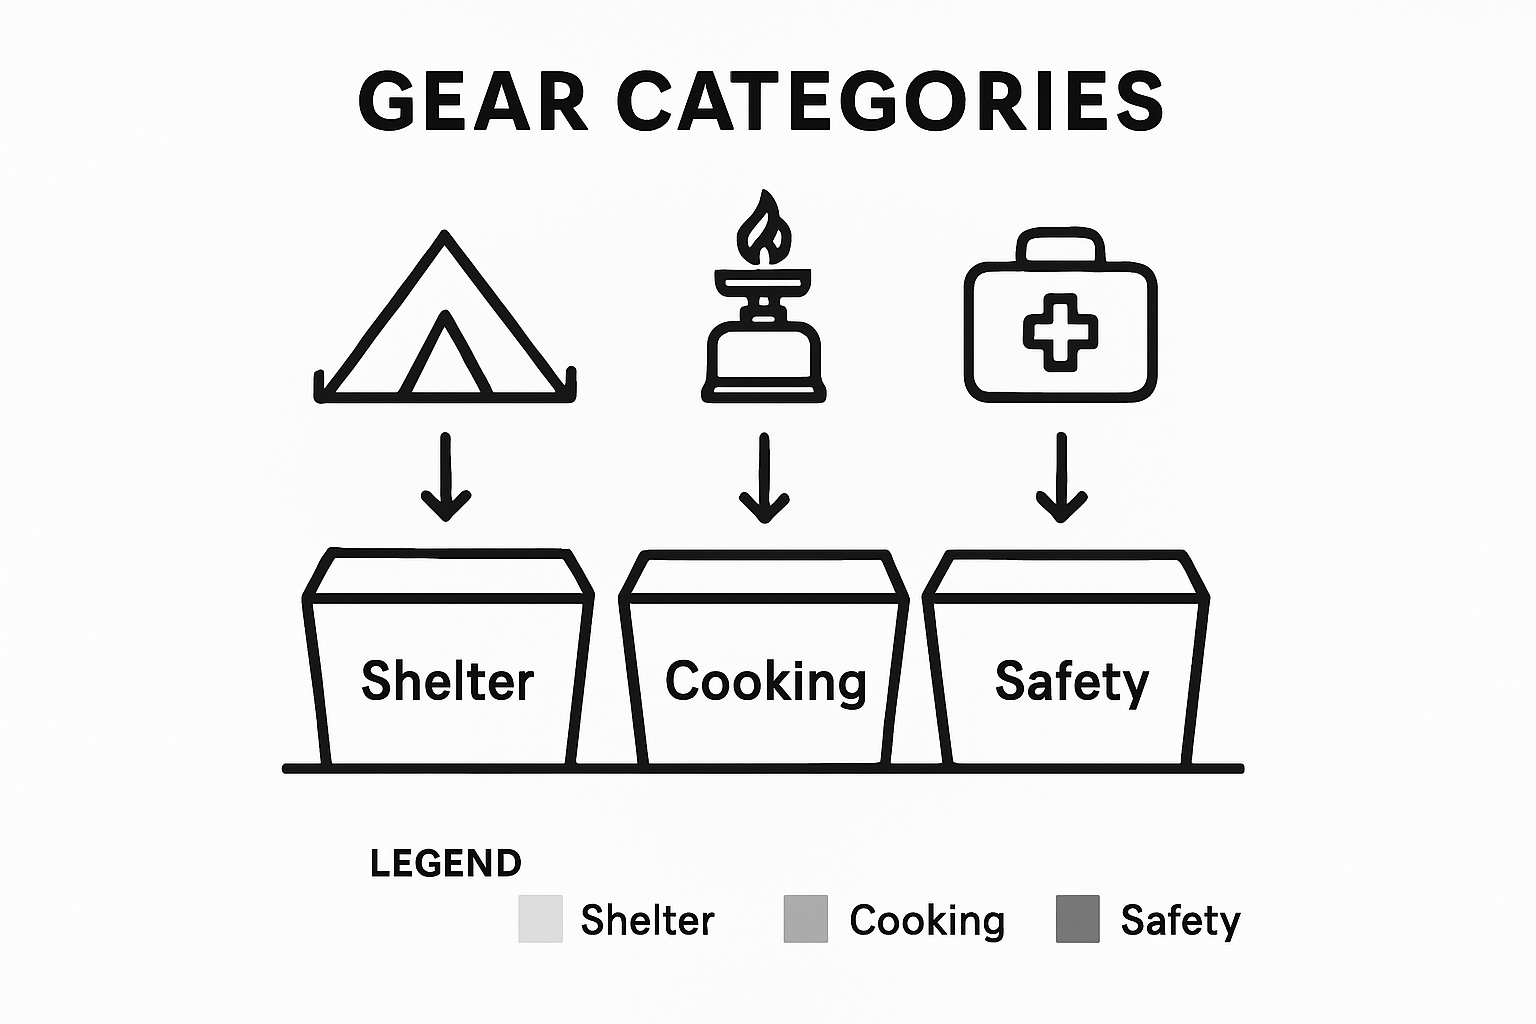
Step 2: Sort Items by Category and Use
Organizing your camping gear effectively is crucial for a smooth and enjoyable outdoor experience. The goal is to create a systematic approach that helps you pack efficiently and ensure no essential items are left behind.
Following the comprehensive camping checklist recommendations, start by dividing your gear into primary categories. These typically include shelter, clothing, kitchen equipment, food supplies, personal items, first aid kit, and informational resources. Professional campers suggest using a method that groups gear into specific functional zones, such as Shelter (tents, hammocks, tarps), Sleep System (sleeping bags, pads, quilts), Cooking (stoves, utensils, pots), Clothing, Safety and Tools, and Optional Extras.
When sorting, consider the frequency of use and importance of each item. Place critical safety and survival gear in easily accessible locations, while keeping luxury or optional items in secondary storage. Invest in clear, durable storage containers or soft gear cubes that allow you to quickly identify and access your equipment. This organizational approach not only streamlines your packing process but also ensures you can quickly locate items when you need them most during your camping trip.
Pro tip: Create a color-coded or labeled storage system that matches your gear categories, making it simple to pack, unpack, and inventory your camping equipment before and after each trip.
Step 3: Clean, Inspect, and Repair Equipment
Preparing your camping gear for a successful trip requires meticulous cleaning, thorough inspection, and proactive maintenance. Your goal is to ensure every piece of equipment is in top condition and ready for outdoor challenges.
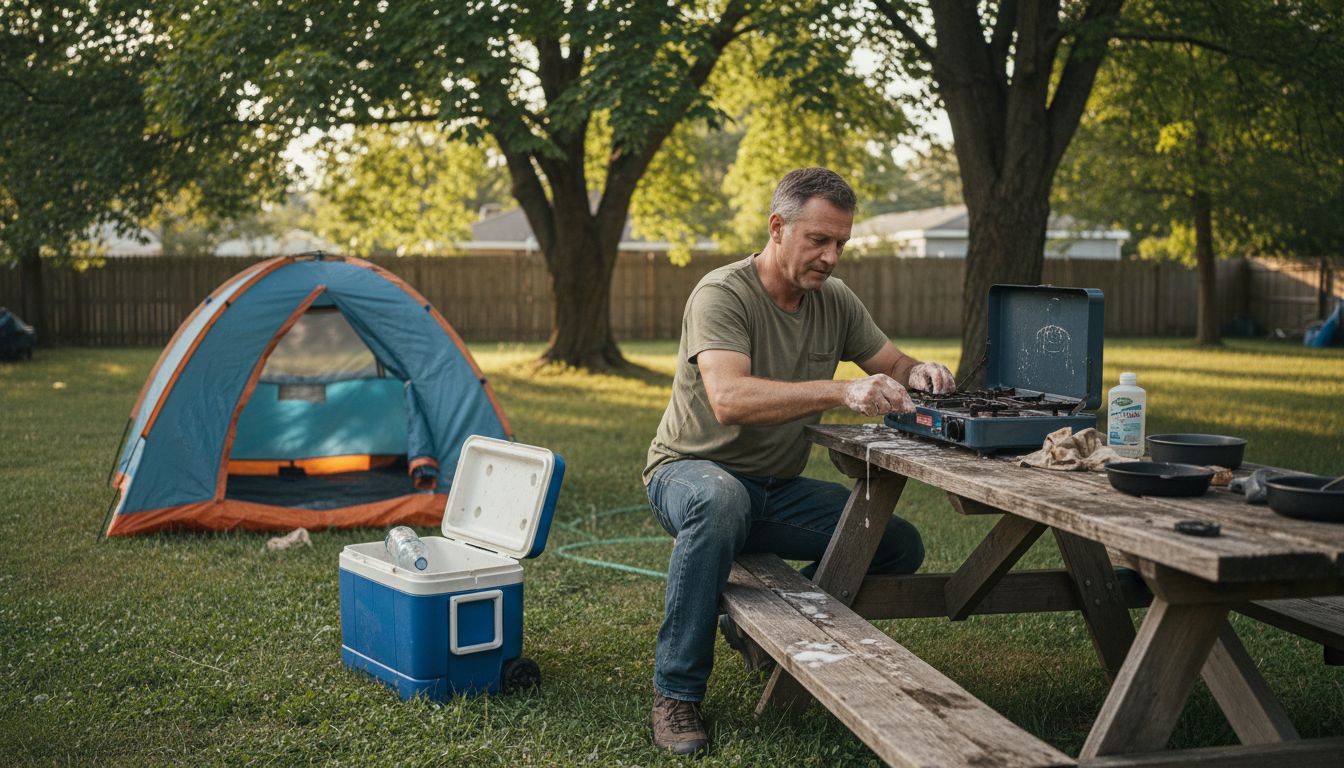
Comprehensive tent and equipment inspection involves a systematic approach to verifying functionality and preventing potential failures. Start by carefully examining each piece of gear, checking for any signs of wear, damage, or structural compromises. Pay special attention to critical components like tent poles, zippers, fabric integrity, and waterproofing. Clean your equipment to remove dirt, debris, and prevent potential biosecurity risks that could impact your gear’s performance or introduce unwanted contaminants to natural environments.
Follow the recommendations from outdoor experts by creating strategic assessment categories for your gear. Develop three distinct evaluation groups: items to keep in current condition, equipment requiring minor repairs or maintenance, and gear that needs complete replacement. For items needing repair, assemble a compact repair kit with essential tools like seam sealers, patch kits, spare buckles, and multi tools that can address minor equipment issues during your trip. Perform repairs in a well-lit, clean environment, and always test repaired items before packing them for your adventure.
Use this summary to guide your gear inspection process:
| Inspection Focus | What to Check | Maintenance Tip |
|---|---|---|
| Tent Components | Poles, zippers, seams | Test and lubricate zippers |
| Cooking Equipment | Burners, fuel connections | Clean regularly, check seals |
| Clothing and Footwear | Rips, waterproofing, comfort | Repair tears, re-waterproof |
| Lighting Devices | Battery levels, lens clarity | Replace batteries, clean lens |
Pro tip: Photograph your equipment before and after repairs to maintain a visual maintenance log and track the condition of your camping gear over time.
Step 4: Pack Into Labeled Containers and Bags
Effective packing is an art that transforms camping preparation from chaotic to streamlined. Your goal is to create an organized system that makes gear accessible and protects your equipment from damage during transport and outdoor conditions.
University outdoor experts recommend carefully selecting and organizing clothing layers to ensure you are prepared for varying weather conditions. Start by choosing clear plastic containers or waterproof stuff sacks that allow quick visual identification of contents. Use color coding or specific labels for different gear categories like cooking equipment, clothing, first aid supplies, and personal items. Consider using compression bags for clothing and sleeping gear to maximize space and minimize volume.
Create a strategic packing approach that prioritizes accessibility and protection. Place frequently used items in outer compartments or at the top of containers for easy retrieval. Use smaller zippered pouches or mesh bags within larger containers to further compartmentalize and protect smaller items like batteries, charging cables, and personal accessories. Waterproof your critical gear by using dry bags or additional plastic liners, ensuring your equipment remains protected from moisture and potential environmental challenges.
Here’s a quick comparison of gear organization strategies and their benefits:
| Organizational Method | Key Advantage | Potential Drawback |
|---|---|---|
| Clear Containers | Easy item visibility | Can take up more space |
| Labeled Bags | Quick identification | Labels may wear off |
| Color Coding | Fast category sorting | Requires color memory |
| Compression Sacks | Maximizes packing space | Items may wrinkle |
Pro tip: Invest in clear plastic storage containers with secure lids that stack easily and create a uniform packing system that can be quickly loaded and unloaded for each camping adventure.
Step 5: Verify Accessibility and Test Organization
The final stage of camping gear preparation involves a critical validation process that transforms your carefully organized equipment into a reliable adventure toolkit. Your objective is to conduct a comprehensive test of your packing system to identify and resolve any potential challenges before hitting the trail.
National Park Service experts recommend thoroughly testing your equipment to ensure everything functions correctly and can be easily accessed when needed. Set up a mock camping scenario in your backyard or living space, simulating the conditions you expect to encounter. Practice retrieving items from your labeled containers, assembling your tent, and using your cooking equipment to confirm that your organizational system works smoothly. Pay special attention to the accessibility of critical items like first aid supplies, navigation tools, and emergency communication devices.
Simulate different scenarios that might occur during your trip, such as setting up camp in low light or retrieving gear quickly during unexpected weather changes. Check that your containers are truly waterproof, your compression bags maintain their seal, and your labeling system allows for rapid identification of contents. Assess the weight distribution of your packed gear and make adjustments to ensure comfortable carrying. This rehearsal not only reveals potential organizational issues but also builds your confidence and familiarity with your equipment before you venture into the outdoors.
Pro tip: Create a quick reference checklist that maps out exactly where each type of gear is stored, allowing for lightning fast retrieval during your camping adventure.
Elevate Your Camping Experience With Organized Comfort
Mastering camping gear organization means conquering the challenges of packing, accessibility, and equipment reliability. The article highlights the need for thorough gear assessment, strategic sorting, and testing your setup to avoid frustration and ensure safety on the trail. If you want to pair this organized approach with superior outdoor comfort look no further than Hazli Collection. Our high-quality memory foam mattresses and durable camping gear are designed to simplify your packing and provide restful sleep no matter where your adventure takes you.
Discover how practical comfort and smart gear choices work hand-in-hand. Explore our collection today to find the perfect outdoor sleep solutions that fit seamlessly into your organized system. Start your next trip fully prepared with Hazli Collection, and turn your camping trips into restful, unforgettable experiences. Act now to build your gear foundation with comfort and reliability that lasts through every adventure.
Check out our selection of camping gear and get ready to pack smarter and sleep better on your next great outdoor journey.
Frequently Asked Questions
How do I organize my camping gear for maximum efficiency?
To organize your camping gear efficiently, start by categorizing items into groups like shelter, clothing, cooking equipment, and first aid supplies. Use clear containers or labeled bags for each category to streamline packing and ensure quick access during your trip.
What is the best way to assess my camping equipment before a trip?
Begin assessing your camping equipment by laying everything out and sorting it into three piles: keep, minor repairs needed, and replace. This method allows you to quickly identify what gear is ready for use and what requires attention before your adventure.
How can I ensure my camping gear is in good condition?
Inspect each piece of your camping gear for wear or damage before your trip. Clean your equipment thoroughly and make necessary repairs, such as sealing seams or replacing zippers, to ensure everything is ready for use.
What packing strategy should I use for my camping gear?
Use labeled containers or color-coded bags to pack your camping gear. Place frequently used items in easy-to-reach spots and consider compressing clothing and sleeping gear to save space while maximizing organization.
How can I test if my camping gear organization works?
Simulate a camping scenario by setting up your tent and retrieving items from your containers and bags. This practice will help you identify any accessibility issues and ensure your system works effectively before hitting the trail.
What should I include on my camping gear checklist?
A camping gear checklist should include critical items such as navigation tools, food, water, first aid supplies, and shelter equipment. Listing out essential items helps ensure that you don’t forget anything important when preparing for your trip.
Recommended
- 8 Must-Have Items for a Smart Summer Camping Packing List – Hazli Collection
- Camp Bedding Organization Guide: Optimize Your Outdoor Comfort – Hazli Collection
- 8 Essential Tent Camping Must-Haves for Comfort and Safety – Hazli Collection
- 7 Top Camping Gear Picks for 2025 Every Camper Should Know – Hazli Collection